
| Type Of Wall Plate | Wall Plate Overall Size | Approximate Rough Opening Requirement |
|---|---|---|
| 8 Port | 2 1/2" High x 16 3/4" Wide | 1 1/4" High x 13 3/4" Wide |
| 16 Port | 4" High x 16 3/4" Wide | 2 5/8" High x 13 3/4" Wide |
| 24 Port | 5 1/2" High x 16 3/4" Wide | 4 1/8" High x 13 3/4" Wide |
| 32 Port | 7" High x 16 3/4" Wide | 5 5/8" High x 13 3/4" Wide |
| 40 Port | 8 1/2" High x 16 3/4" Wide | 7 1/8" High x 13 3/4" Wide |
| 48 Port | 10" High x 16 3/4" Wide | 8 5/8" High x 13 3/4" Wide |
For Surface mounting you need to mount between 2 studs.
We use a stud finder to locate the studs - We mark the stud
locations and then mark an area near a stud for a pilot hole.
Drill the pilot hole.
We make the pilot hole larger to verify stud location and
make sure there are no issues before making the hole full size.
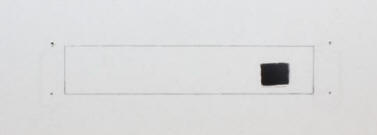
We mark out our rough opening and mounting holes.
We cut out the rough opening.
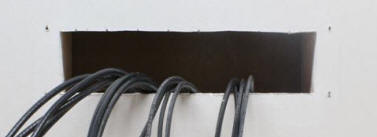
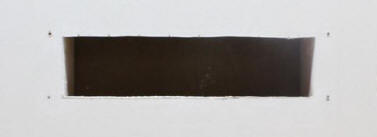
We run the cables through our opening.
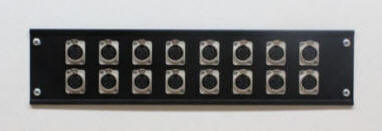
We solder our cables and attach the plate to the wall.
We use screws
suitable for that type of wall and studs.
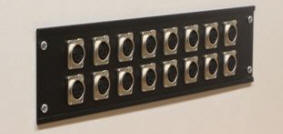
The wall plate is flush to the wall.

Surface Mount Wall Plates can be trimmed out.

VADCON, Inc.
PO Box 92414
Rochester, NY 14692
Phone: 800-899-9855
Fax: 888-686-4686